Straight lines are fundamental to drawing. There are many things you can draw using only straight lines. Drawing a straight line on Method Draw is similar to drawing rectangles or ellipses. Click on the Line Tool in the Toolbox and then move the mouse pointer to the location on the canvas where you want your line to start, press and hold the left mouse button and drag the mouse until the mouse pointer is located on the canvas where you want the line to end. Then release the mouse button. As you are dragging, the line will exhibit the "rubber banding" effect.
Immediately after releasing the mouse button, the line will appear inside a selection bounding box with tiny squares around its perimeter. Place the mouse pointer over one of those tiny squares (called "handles") and the mouse pointer turns into a double-arrow icon. While the double-arrow icon is visible, you can drag the handle to resize or reorient the line.
To unselect the line, click on the Selection tool at the top of the Toolbox, then click on an empty area somewhere on the canvas.
Click on the line again to select it. While the line is selected, see the Stroke boxes at the bottom of the information area at the right side of the application window. Click inside the box labeled "Width" and you can enter a new Stroke Width for the line, for example 3. You will now have a thicker line. In the Stroke area you can see a box labeled "Dash" that has a drop down list in it that allows you to select various patterns of dashes and dots for the line.
While the line is selected, click on the Color Tool at the button of the Toolbox. Clicking on the box with the border brings up the color dialog box, from which you can choose a color for the line.
While a line is selected, you can reposition it using the keyboard arrow keys.
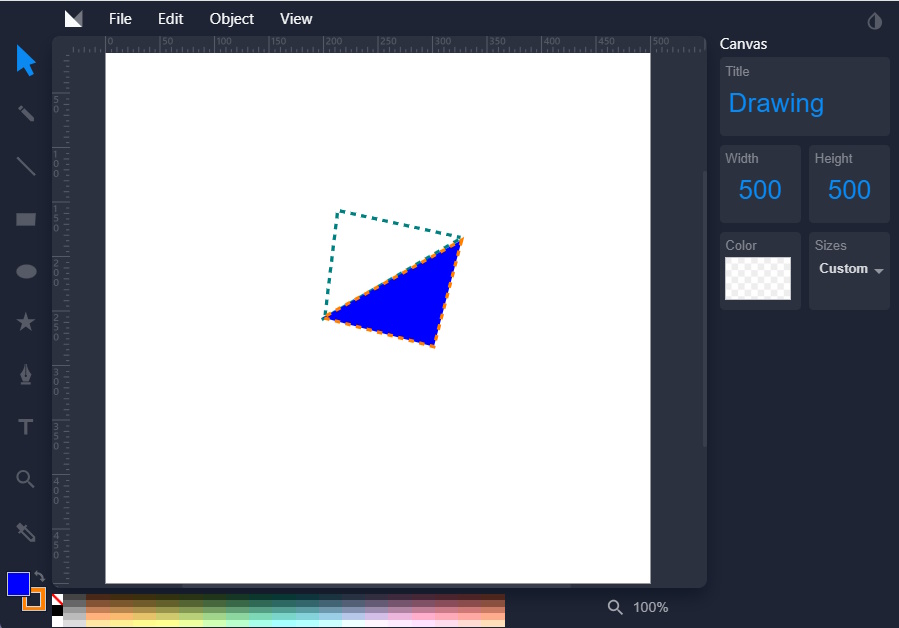
Once you get the lines arranged into a triangle, click on the Selection Tool and draw a box around all three of the lines. You will see a bounding box around each of the lines. Now, in the Object menu, select Group Elements.
The lines will now appear in a bounding box with handles. This allows you to reshape and relocate the triangle as a whole.
If you click outside the triangles bounding box, it will become unselected.
You can reselect a triangle by clicking on one of its sides. When the handles appear, the triangle is selected. Unfortunately, you may have to try this several times before it takes affect.

By selecting "Source" in the "View" menu you can see the actual SVG code.

For my final drawing, I replaced one of the triangles with a rectangle. Do this by selecting the Rectangle tool and drawing a rectangle. Then select the rectangle and in the Object menu select Convert to Path. Now the actual SVG node will appear. One of these nodes will be selected. In the Information area at the right side of the window, click on the Delete Node button. Remove a node from a rectangle and you have a triangle.
The advantage of having an actual SVG object is that, unlike a group of lines, it has an inside area. So you can Select the Color tool and set a fill color. This is actually how you should build all your line drawings, not using actual lines.

