If you are not familiar with vector drawing, Method Draw, Method Draw's application interface, before proceeding, read Introduction to Method Draw. In this article we will use the same technique to draw an ellipse, a circle, and introduce ourselves to the concept of "z order".
Drawing an ellipse is very similar to drawing a rectangle. In Method Draw's Toolbox, click on the Ellipse/Circle tool. The Ellipse/Circle tool becomes highlighted. Move the mouse pointer to the point in the canvas where you want to draw an ellipse. Press and hold the left mouse button. The ellipse starts to appear. Drag the mouse pointer to the point in the canvas where you want the ellipse to end. Release the mouse button.
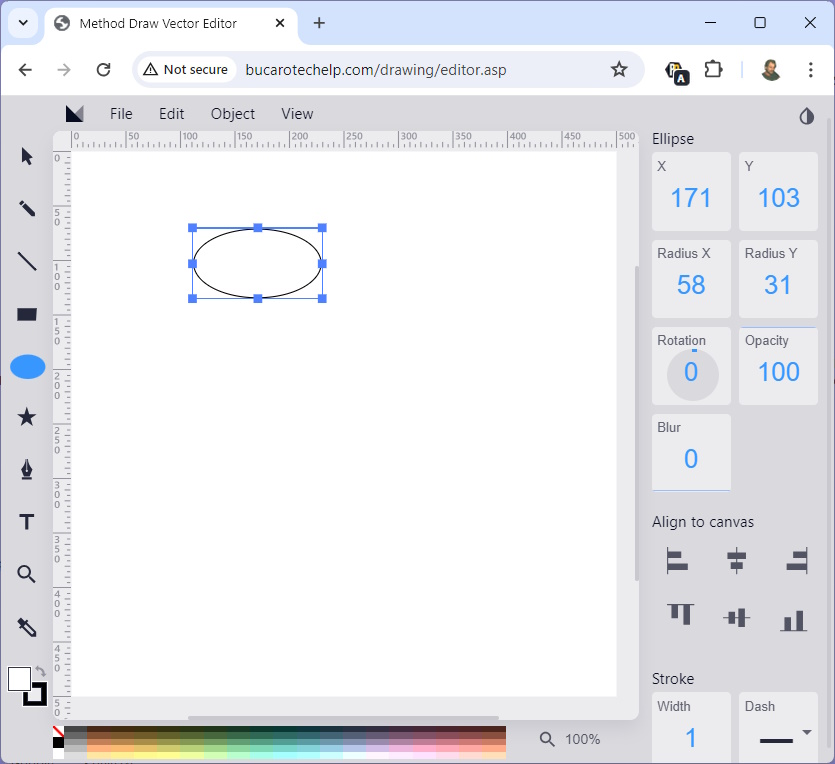
Note that the ellipse is contained within a bounding box, and that the bounding box has tiny squares around its parameter. Click on the select tool (arrow at the top of the toolbox). This unselects the ellipse tool. Move the mouse pointer to a blank area of the canvas and click. This unselects the ellipse and removes the tiny squares around its border. Click on the ellipse. The bounding box and tiny rectangles reappear. Put your mouse pointer inside the rectangle, and you are free to drag the rectangle to a new location on the canvas.
Move the mouse pointer over one of the tiny squares (called "handles"). The mouse pointer turns into a double-ended arrow. Press the left mouse button to move the ellipse's side (or corner) to change its shape. To make the ellipse into a circle, while the ellipse is selected, note in the information area on the right side of the application's window two boxes labeled "Radius X" and "Radius Y". Click on the number in one of the boxes and enter a number equal to the number in the other box. The selected ellipse will now be a circle.
Place the mouse pointer over on of the handles, and drag the circle back to an ellipse shape. Holding the mouse pointer just outside one of the corner handles turns it into a rotation icon. Then, you can drag your mouse to rotate the ellipse.
Z-Order
While the ellipse is selected, go to the icon at the bottom of the Toolbox. Click on the box without a border. The color selection dialog box appears, allowing you to select a fill color for the ellipse.
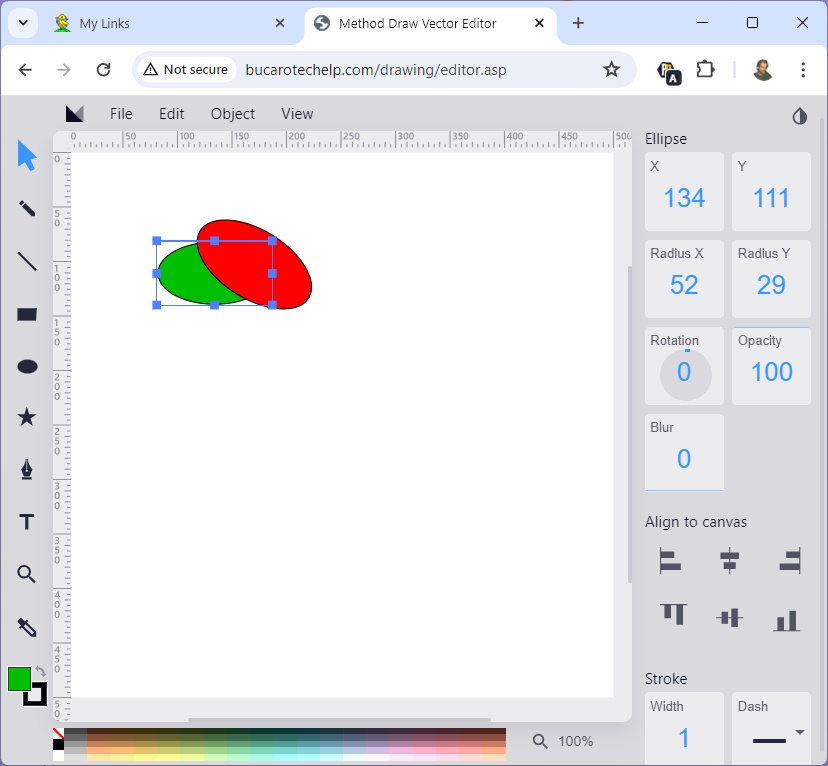
Now, following the same procedure as above, draw another ellipse next to the first ellipse, except give it a different fill color.
Next, drag the new ellipse to the same place on the canvas as the first ellipse. Note that the new ellipse goes over the first ellipse. Most drawing programs have what they call "layers". SVG doesn't have layers. Instead it has Z-Order, sometimes referred to as "stacking order". Each object has a position in the Z-Order based upon which was drawn first.
In the "View" menu, select "Source..." You will see the SVG code for your drawing, and you can see that the code for the first ellipse comes first (you know it's the first ellipse because it has a "rotate transform" attribute. But you can change this stacking order.
Select the first ellipse. In the "Object" menu select "Bring to Front". Now the first ellipse is on top of the new ellipse. View the code again, and this time you will see that the ellipse with the "rotate transform" attribute comes second.

