The first thing I want to do is give my pitch praising vector drawing. Have you been drawing with pencils, pens, markers, or other "manual" devices? You draw a line or object and are not quite satisfied with it, so you have to erase it and start over. Would you believe you can draw lines or objects, and if you are not satisfied with them, you can use your mouse, stylus, or finger to move or reshape them? It's true, and it's called "vector drawing."
Don't get me wrong, some people prefer to draw by hand. They like the feel of the marker or brush in their hand. And some people are damn good at it. I have great respect for people who create art by hand. Computer graphics can be unbelievably great, whether computer generated or generated by human control. However, computer-generated art will never have the value of human art created by hand.
Nonetheless, most art is not created for aesthetic purposes. It is created for industrial, advertising, or educational purposes. In those cases, the matter of productivity gets involved.
Now, if we are going to choose computer vector drawing, which of the many applications is the best? Adobe Illustrator is a popular commercial vector editing application. It probably does a wonderful job, but since I don't have hundred dollar bills to burn like cigars, it's out of my price range.
Blender is a free program with a variety of features for creating 3D models and animations. I've tried it several times, and I think it's a buggy, over-complicated nightmare to try to use. On the other hand, some people like it and have done amazing things with it. Some successful commercial animation features have been created with it.
Then there is Inkscape. Inkscape is a free, open-source program for creating vector graphics. I started with Inkscape many years ago. I literally love that program. It's easy for beginners to learn the basics. The application is also of professional quality and has a rich set of advanced features. There is a huge pool of Inkscape users, so if you can't figure out how to use an advanced feature, there are literally thousands of people ready to help.
So, if Inkscape is so wonderful and runs on Linux, Mac OS X, and Windows, why am I pushing the limited featured Method Draw? Method Draw's limited features and "simplicity" are the main attractions. I want to teach people, including children, how to vector draw. Inkscape is just too complicated for that. I want to teach drawing without the learning of the tool getting in the way. And best yet, Method Draw is a Web-based application that runs on the ubiquitous JavaScript programming language. You can actually copy the Method Draw program files to your computer and run it locally without an Internet connection.
Another thing I dislike about Inkscape is the file size. Whereas Method Draw files are usually tiny text files, Inkscape files are always huge. It's because of all the legacy baggage Inkscape carries and the fact that it saves coordinate values in ten digits. (which is a good quality issue) while Method Draw saves coordinate values in eight digits, which is still way more than I need.
You can find Method Draw HERE. If you can't find it there, I put a copy of it on my website HERE. You can't save your work using my version except by copying the code from the "View Source" dialog box.
Method Draw Interface
I hate information about applications that start by describing the application's interface in detail. I'm not going to remember any of that, and I would rather learn by doing. For that reason, I'm going to give you just a peripheral description of Method Draw's interface.
Across the top of the application's window is the main menu. To me, the most important item in this menu is the "Source..." submenu item of the "View" menu. This is because it brings up a dialog box containing the code for the current drawing, which you can edit.
Vertically, on the left side of the application's window is the "Toolbox." The nice thing about this toolbox menu is that it has tooltip popups, except for the bottom item. This actually makes it unnecessary to describe each item because the tooltip will tell you what it is. The last tool at the bottom of the Toolbox brings up the color selection dialog box, allowing you to set an object's stroke and fill colors.
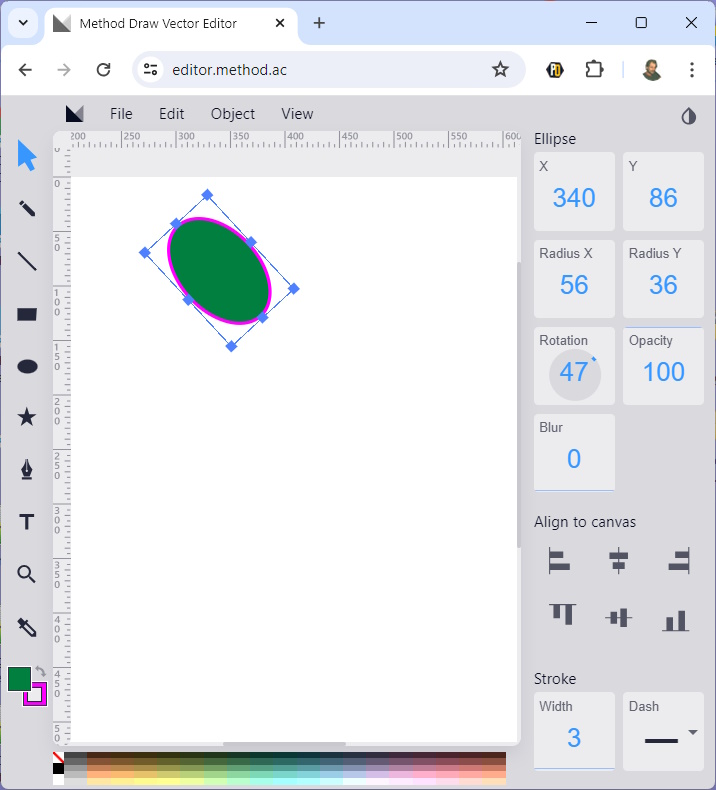
Vertically, on the right side of the application's window is the "Information" area. Here, you'll find all kinds of information about the currently selected object. In the image shown above, I have drawn and selected an ellipse. Note that the information area tells me its x and y location, radiuses along each axis, rotation angle, opacity and blur, stroke width, and stroke type. And you can edit each of these attributes which will immediately take effect in the drawing.
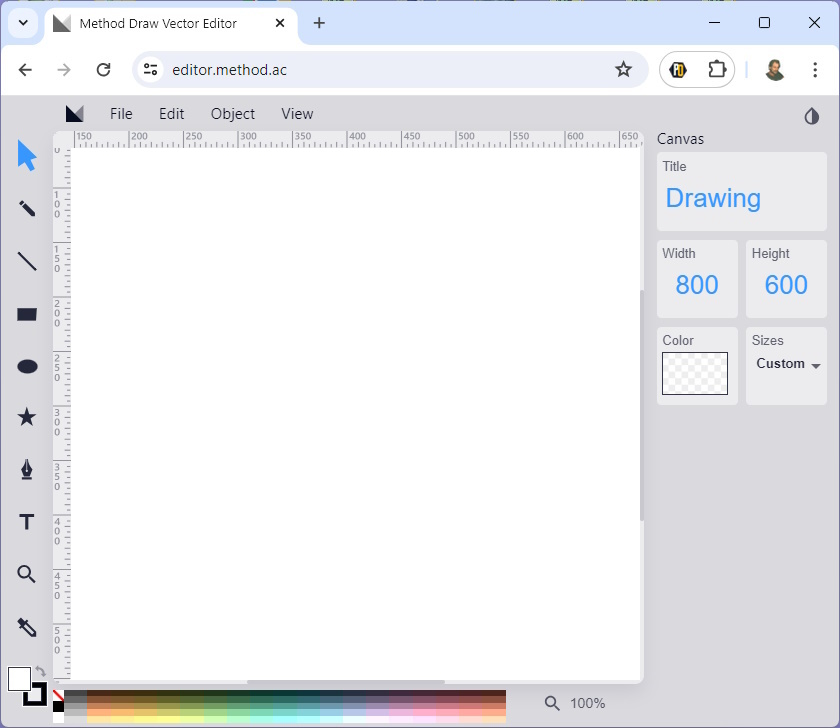
When no object is selected, the information area displays the dimensions of the canvas drawing area. Here, you can also set the canvas' background color.
Note that Rotation angles are in degrees, rather than confusing "radians," and that the stroke type item (labeled "Dash") has a drop-down list that allows you to change the stroke type. The only thing I don't see is a way to put an arrow or arrows on a line. However, I rarely use arrows; you can just draw an arrow at the end of any line or go into the code and add an arrow code.
An alternate way to set the currently selected item's fill and stroke color is along the bottom of the application's window. And to the right is an icon you click on to set the canvas magnification.
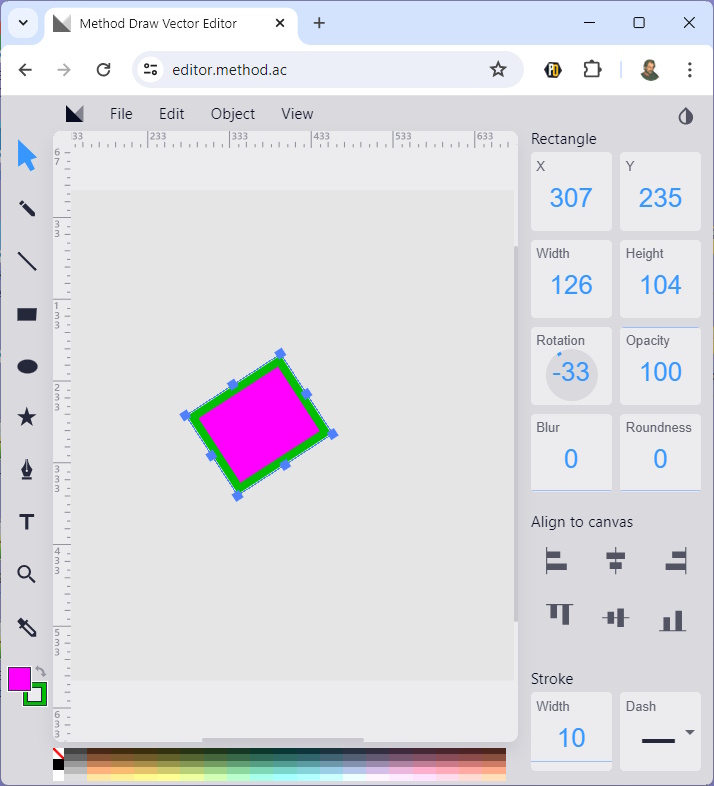
Now that I've bored you to tears, let's draw a basic object. Click on the type of object you want to draw, for example, a "Rectangle." The Rectangle tool becomes highlighted. Move the mouse pointer to the point in the canvas where you want to draw a rectangle. Press and hold the left mouse button. The rectangle starts to appear. Drag the mouse pointer to the point in the canvas where you want the rectangle to end. Release the mouse button.
Note that the rectangle is contained within a bounding box, and that the bounding box has tiny squares around its parameter. Click on the select tool (arrow at the top of the toolbox). This unselecets the rectangle tool. Move the mouse pointer to a blank area of the canvas and click. This unselects the rectangle and removes the tiny rectangles around its border. Now, here's where the magic of vector graphics comes into play. Select the arrow (selection tool) at the top of the toolbox. Click on the rectangle. The bounding box and tiny rectangles reappear. Put your mouse pointer inside the rectangle, and you are free to drag the rectangle to a new location on the canvas-no messy erasing and redrawing.
Move the mouse pointer over one of the tiny rectangles (called "handles"). The mouse pointer turns into a double-ended arrow. Press the left mouse button to move the rectangle's side (or corner) to change its shape. You may have noticed that holding the mouse pointer just outside one of the corner handles turns it into a rotation icon. Then, you can drag your mouse to rotate the rectangle.
So, you really have complete control of the rectangle. You may use the information boxes "Stoke" and "Dash" selections to edit the border of the rectangle. Go to the icon at the bottom of the Toolbox. Click on the outlined box. The color selection dialog box appears, allowing you to select a color for the rectangle's border.
Click on the box without a border. The color selection dialog box appears, allowing you to select a fill color for the rectangle.
I think we've done enough for our first introduction to Method Draw's interface. Actually, the skills you have learned are common to many objects in Method Draw. Just click on the Star icon in the Toolbox, and you'll see what you have to work with. But you have not learned everything. Far from it. We still have Paths and Bézier curves, and gradients to learn. And the power you'll have with those things is truly amazing.

