
If you want to test your Classic ASP scripts, IIS (Internet Information Services) is a feature that included with every Windows 10 operating system, but it's an option, so you do have to install it first.
1. In Control Panel click on the Programs and Features icon.
2. In the Programs and Features window that appears, in the left panel, click on "Turn Windows features on or off".
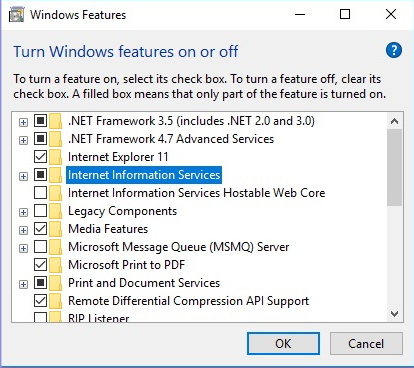
3. In the Windows Features dialog box that appears, set the checkbox for Internet Information Services branch.
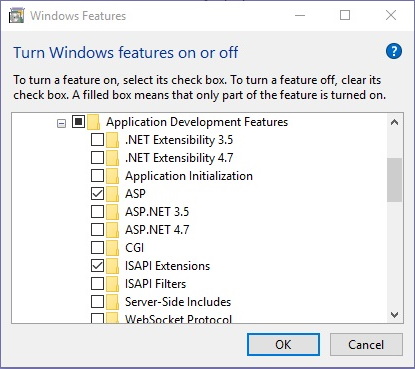
4. Expand the WorldWide Services branch, then expand the Application Development Features Set the [] ASP option.
5. In the Windows Features dialog box, click on the [OK] button. The Applying changes progress bar appears. When completed, click on the [Close ] button. Then reboot your computer.
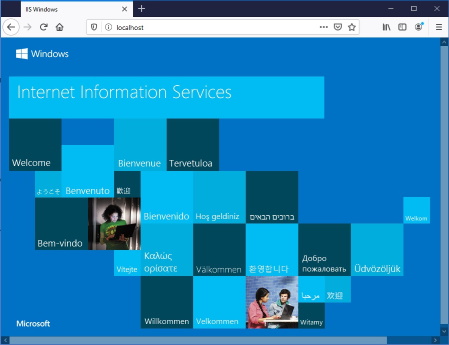
6. Open your browser and in the address bar enter http://localhost, the default webpage wil appear.
The path to IIS will be c:\inetpub\wwwroot\. There you'll find the webpage iisstart.htm. This is where you should place your web pages.
Set IIS Default Page
This is optional, but if you want to build a complete website, you might want to set the default page. To do that, In Control Panel click on the Administrative Tools icon.
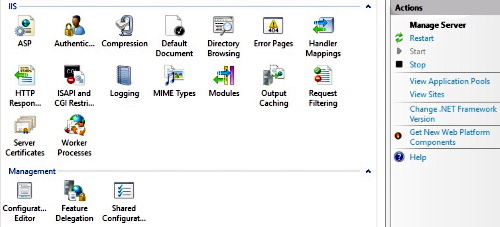
In the Administrative Tools window, click on Internet Information Services (IIS) Manager. In the window that appears, click on the Default Document icon.
There you'll see a list of documents in order of their priorities. In other words, if the document at the top of the list cant be found, it will look for the next document in the list. Highlight the name of the document that you want to be the default. Then in the right column, click on the Move Up arrow to move that document to the top of the list. You can also add the name of your own document and set it as the default document.
