A Free Windows Graphical Interface to MySQL
By Stephen Bucaro
MySQL is a powerful relational database management system used by many major
organizations such as Yahoo, NASA and the U.S. Census Bureau. The best thing about
MySQL is that it is open source software available free of charge for non-commercial
use under the open source GNU public License.
In my previous article "Gettting Started With MySQL Database" we installed MySQL
on Windows and worked with it using MySQL monitor in a DOS window. While you can perform
most database tasks with MySQL monitor, it gets pretty tedious working in a DOS window.
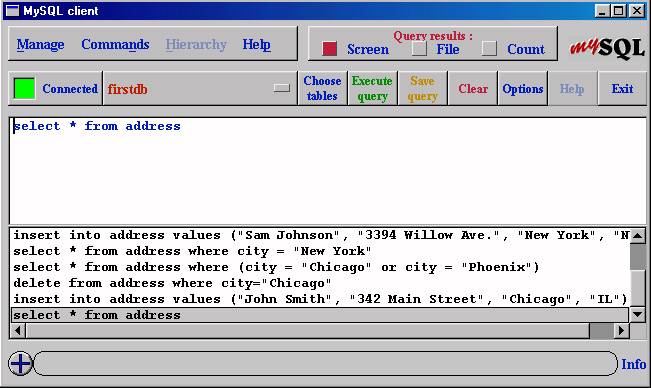
Rather than work with a DOS window, you will want to download MySQLGUI from
www.mysql.com. MySQLGUI is a graphical
interface to MySQL that can do the same things as MySQL monitor. Versions of MySQLGUI
are available for Windows and Linux.
For Windows, you'll need to extract the zip file. I recommend extracting it to a
new subfolder of the mysql folder. Before opening MySQLGUI, make sure the mysql
database server is running. To start MySQL server open a MS-DOS prompt and type
the following line.
C:\mysql\bin\mysqld-max
Then double-click on the file mysqlgui.exe. When you first start MySQLGUI you are
prompted for a password. Enter the password for the root user ("mysql" if you haven't
changed it), and then click on the Options button.
In the "MySQLGUI client options" dialog box, click on the server tab and specify
the host name for MySQL server (localhost if on the same machine). Also enter the name
of a default database. In the previous article we created a database named firstdb.
| 


