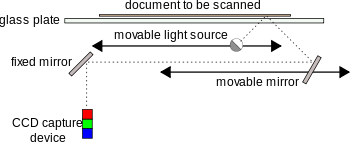
Modern desktop (or flatbed) scanners have glass pane (or platen), under which there is a moving light (often xenon or cold cathode fluorescent) which illuminates the pane, the image of which is reflected onto a charge-coupled device (CCD) with three rows (arrays) of sensors with red, green, and blue filters.
Some scanners have a lock on the moving light track to protect it from damage during shipping or moving. This lock must be released before the scanner will operate.
First Check the Obvious
Standard procedure for troubleshooting anything is to first check (actually double-check) the obvious. Was the scanner installed properly? Scanners require a number of drivers, including "Twain" drivers to be installed.
Is the scanner cord plugged in an AC outlet, and is the outlet live? Is the USB cable pushed in all the way, and is it inserted in a proper port? Is the scanner turned on?
Did the Scanner Initialize Properly?
It requires a lot of communications between the PC and scanner to get it initialized properly. If you started them both at the same time, there my have been an initialization error. Try restarting the PC with the scanner connected and turned on. The PC's plug-and-play routine will search for all connected devices and ask them to reinitialize.
Did the PC Recognize the Scanner?
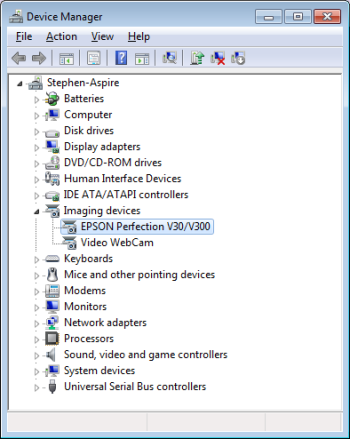
To see if the PC recognized the scanner, in Control Panel, click on the Hardware and Sound link. On the Hardware and Sound page, click on Device Manager. (If the User Account Control warning box appears, click on the [Yes] button.)

In Device Manager, open the Imaging Devices branch. You should see your scanner listed there. Right-click on the scanner's name, and in the popup menu that appears, choose Properties.

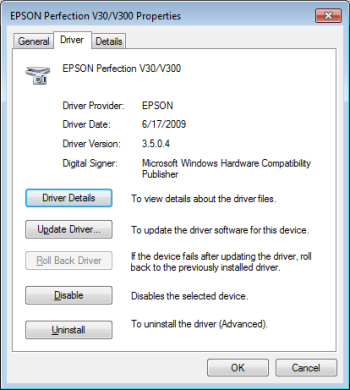
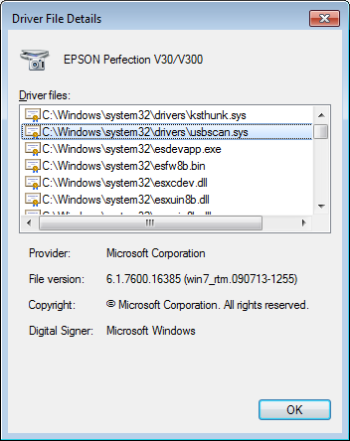
In the scanner's Properties dialog box that appears, click on the [Driver Details] button.

In the Driver File Details dialog box that appears, you should see a list of installed drivers for the scanner.
Is the USB Port Working?
Are there other USB devices connected to the system, and are they operating? If no other USB devices connected to the system, make sure USB has been enabled in the BIOS. If other USB devices are connected to the system, try removing some, or all other USB devices. Another USB device may have a bad driver which is interfering with the scanner. If you're using a USB hub, try connecting the scanner to a USB port directly on the PC.
Update the Scanner Driver
Back on the scanner's Properties dialog, on the Driver tab, click on the [Update Driver...] button. You'll be presented with options. You can select "Search automatically for updated driver software".
If updating the driver doesn't solve the problem, Back in Device Manager, right-click on the name of the scanner and, in the popup menu that appears, select Uninstall. Then shut down the computer, disconnect the scanner removing all cables, then restart the computer. This will remove the device and driver from the plug-and-play registry entry.
Then shut down the computer. Restart the computer and, using the scanners manufacturer's installation disc, re-install the scanner.
More Windows Troubleshooting Articles:
• Get Remote Technical Assistance
• Troubleshoot Windows with Task Manager
• How to Diagnose Windows Blue Screen of Death (BSOD)
• Computer Repair with Diagnostic Flowcharts
• First Stop When Troubleshooting Windows 7 - Control Panel
• How to Fix Windows XP Errors
• How To Troubleshoot Video Display Problems
• Fix Windows 7 Repeatedly Tries to Update
• Make a Bootable Windows 7 USB Drive
• Troubleshoot with Free Process Explorer Utility

