Krita is a free and open source painting tool designed for concept artists, illustrators, matte and texture artists, and the Visual Effects industry. Unlike many other free graphics tools, and much like Adobe Illustrator, Krita is based on having an array of tools, layers, and brushes to use. The latest versions even have vector graphics. For this reason, Krita's popularity has exploded lately.

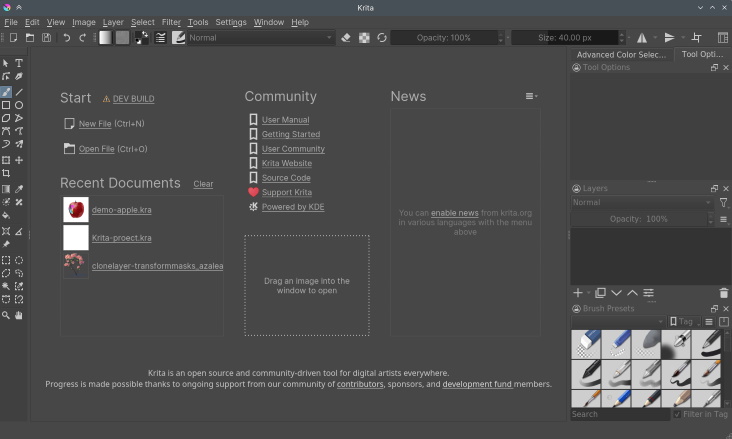
When you start Krita for the first time there will be no canvas or new document open by default. You will be greeted by a welcome screen, which will have option to create a new file or open existing document.
To create a new canvas you have to create a new document from the File menu or by clicking on New File under start section of the welcome screen. This will open the New file dialog box. If you want to open an existing image, either use File | Open... or drag the image from your computer into Krita's window.
Creating a New Document
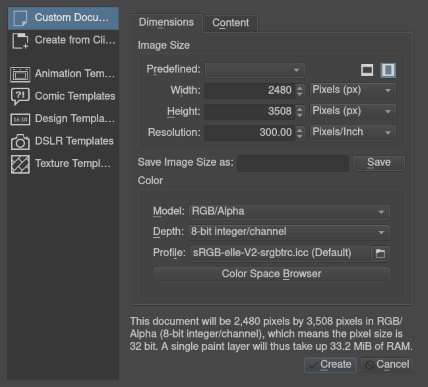
When creating a new document, the New Document dialog box will appear as shown below:

Click on the Custom Document section and in the Dimensions tab set the Width and Height of your document. Yo get started a width of 500 pixels and a height of 400 pixels is fine. You may also set a Resolution, but a default of 100 ppi is fine to get started.
Make sure that the Color Model is RGB/Alpha, and set the Depth to 16-bit integer/channel in the color section. Then click on the [Create] button.
How to use brushes
You should be able to draw on the canvas, but when I drew my first line, I found the brush size was set to 40 px. To me that's a bit large. Just below the top menu is a toolbar where you can set the Size. Set the brush size to something around 4 px. Then, with your pointer device (press and hold the left mouse button) and draw a line on the canvas.
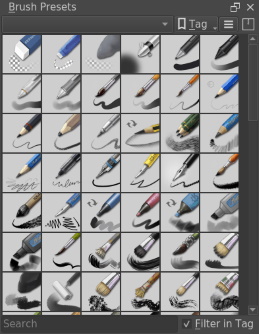
If you want to use different brushes. On your right, there's a docker named Brush Presets (or on top, press the F6 key to find this one) with squares for choosing pens and crayons.
If you want to tweak the presets, check the Brush Editor in the toolbar. You can also access the Brush Editor with the [F5] key.

Tick any of the squares to choose a brush, and then draw on the canvas. To change color, click the triangle in the Advanced Color Selector docker.
Erasing
On the right side of the screen, the Brush Presets, the first brush on in upper left looks like an eraser, and indeed it is. You can erase by selecting that brush and with your pointer device (press and hold the left mouse button) use it to erase your line.
Saving and opening files
To save your drawing, in the top menu select File | Save As.... The Save As dialog box appears. In the File name: text box, enter a name for your file, in this case for example first_try. Then, if you want to edit the file later in Krita, in the Save as type: text box select Krita document (* .kra). Then click on the [Save] button.
More Graphics Design Tips:
• Inkscape - How to Join Two Segments at Endnodes
• SVG For Responsive Web Design
• How to Make a Meme
• Inkscape - How to Add a New Node
• Five Surprising Reasons I Use Krita for Photo Editing
• Beginning GIMP: From Novice to Professional
• XDdom 3D Axis and Coordinate System
• Paint.Net Ink Sketch, Oil Painting, and Pencil Sketch Artistic Effects
• SVG Example Code to Scale Elements
• MathML Element to Display a Fraction

