Installing a Power Supply - An Easy-to-follow 11-Step, Photo Illustrated Guide
Warning: Power supplies contain capacitors that retain power even when the power supply has been powered down. Before you begin your installation make sure you ground yourself to prevent injury. If you don't have a grounding antistatic wrist strap, you can ground yourself by touching any of various household objects, such as a water pipe, a lamp, or another grounded electrical device. And be sure to unplug the power cord before you begin to work.
When you've upgraded your PC system by adding on a number of new peripherals it might be time to upgrade your power supply as well. Please note that many popular PC systems use power supplies made especially for those systems and cannot be replaced. Read your instruction manuals to make sure your PC's power supply can be upgraded. Otherwise, you will need to purchase a new computer case that will accommodate a larger power supply than the one you are presently using. However, if you are able to upgrade your power supply, the following 11-step guide with accompanying photographs will help you complete installation in 5 to 10 minutes using only a Philips screwdriver.
Note: Be sure to consult your user manuals when embarking upon any PC installation project. Computer systems and components vary and manufacturers may make slightly different installation recommendations
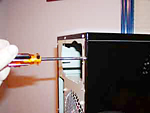
1. Remove all the screws that hold the computer case cover or panel onto the chassis
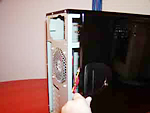
2. Remove the case cover or panel.
The shape and physical layout of a power supply is called its "form factor". Power supplies come in several industry standard form factors. Power supplies with the same form factor are physically interchangeable. Although two power supplies may have the same form factor, they can differ in quality, power rating, features, and efficiency. Make sure to purchase a power supply that not only has the proper form factor to fit into your computers case, but also has the required power rating to drive your motherboard and other system components.
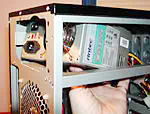
3. Place the new power supply onto the case so that the 4 mounting holes are aligned; make sure power supply fans (if any) face toward the center of the computer case and not toward the case cover.
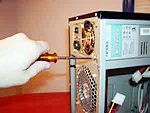
4. Attach the power supply onto the case with the 4 case screws.
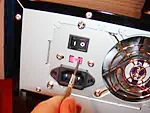
5. Set the voltage switch on the power supply to the proper voltage level for your country (North America and Japan uses 110/115v, while most European countries are on the 220/230v standard).
6. Connect the power lead from the power supply to the motherboard.
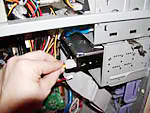
7. Connect all the drives and fans inside the PC to the power supply.
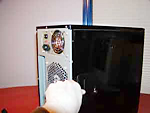
8. Put the computer case or panel back on.
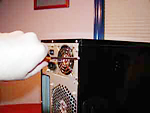
9. Attach the case or panel by fastening the screws or clamps.
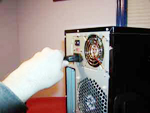
10. Plug your power cord to the power supply and then to your wall unit or power strip.
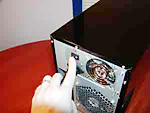
11. Turn on the power supply!
Now you're ready to power up your system.

Learn more at amazon.com
More Maintain and Upgrade Your PC Articles:
• Decrapify Your PC
• Printers - A Practical Buyers Guide
• Clean-up Your PC
• How to Update Your Computer's BIOS
• Hacking Windows Vista
• How to REALLY Backup the Windows Registry
• How to Create an Emergency Repair Disk
• FREE Software - My Control Panel
• A Guide to Cleaning Your Mouse
• DIY Disk Cleanup Program No Tech Need, No Tool Need
