12 Quick, Easy Steps to Installing Desktop Memory
Increasing your computer's memory is one of the most powerful ways to improve performance. The following 12-step guide illustrates how you can install your desktop memory upgrade in 10 minutes or less with the use of a demagnetized screwdriver. But before you begin, make sure you are working in a PC-e environment. If you handle your circuitry improperly you can inflict permanent damage. Your PC's biggest enemy is static electricity.
Static electricity can damage your module and other computer parts. You need to ground yourself to avoid "shocking" your computer. Grounding yourself removes any static electrical charge your body might be carrying. To ground yourself, you can wear antistatic wrist straps or you can do the following: With your computer turned off, touch an unpainted metal part of your computer case with your hand. Plant your feet and do not walk around (because walking can produce static electrical build-up. Now you"re ready to proceed with our 12-step program for installing memory:
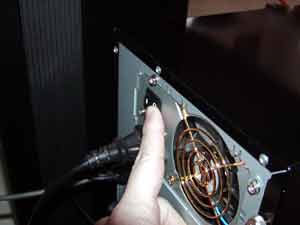
1. Make sure your PC has been turned off! You"d be surprised how many people forget this common sense first step.
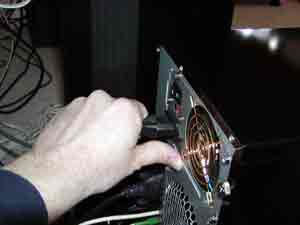
2. Remove all the power cords from your computer system.
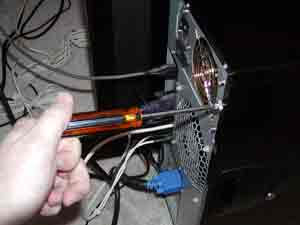
3. Remove all the screws that secure your computer case and put them in a place where you can easily find them.
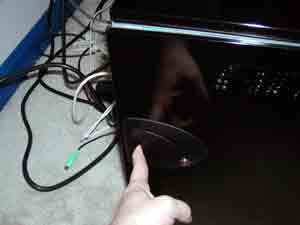
4. Remove the computer case. Usually you can simply lift the case off once you have removed all the screws. However, if you have difficulty removing the case, consult your computer"s user manual.
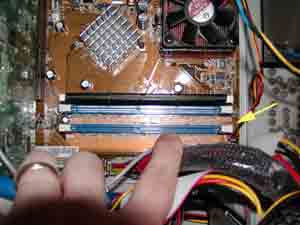
5. Locate the memory slots on your motherboard. In some PCs you will find then beneath a power supply or drive. If so, you may need to remove some additional parts in order to gain access.
“ The most important part of installing memory is to make sure you are using the correct type of memory for your motherboard. ”
Its important to study the manual that came with your motherboard to determine exactly what type and speed of memory is required.
If your motherboard is an older design, it may use Synchronous Dynmaic Random Access Memory (SDRAM) in a 168-pin Dual In-line Memory Module (DIMM). SDRAM comes in two speeds, 100 MHz (PC100) and 133 MHz (PC133). It comes in 3.3 volt and 5.0 volt versions, with Error Checking and Correction (ECC) or non-ECC.
Some Intel motherboards may use RAMBUS packaged in a 184-pin RIMM. RAMBUS comes in speeds from 300 MNhz (PC300) to 1.066 MHz (PC10660). It may be ECC or non-ECC. There are two connectors on the motherboard, each must contain either a RIMM or a C-RIMM. A C-RIMM (continuity RIMM) does not contain memory, it is a module that provides a path pass-through for the signal.
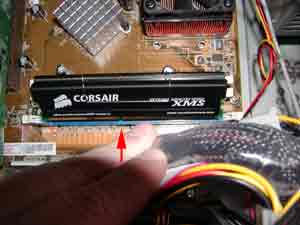
6. If you need the replace an existing memory module, undo the module clamps and gently lift the memory module out of the slot.
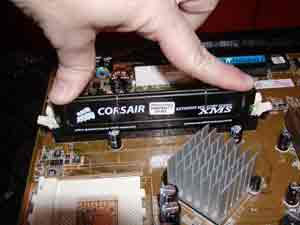
7. Take your memory module out of its anti-static bag and hold it gently by the edges. Line up the notch on the bottom of your new memory module with the empty memory slot and press the new module down with your thumbs until the pins rest snugly inside the slot. You may have to exert some pressure! When will hear a click when the memory module is installed correctly.
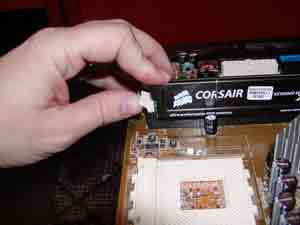
8. Secure the new memory module by attaching the module clamps.
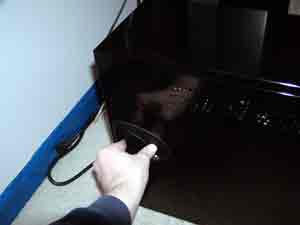
9. Put the computer case back on.
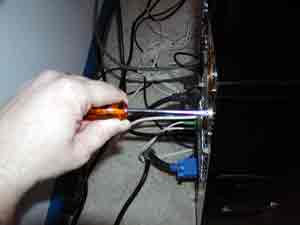
10. Replace the case screws to secure the case.
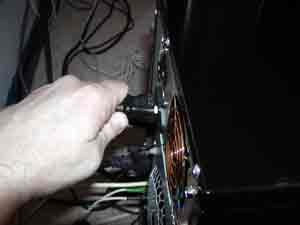
11. Attach your power cord.
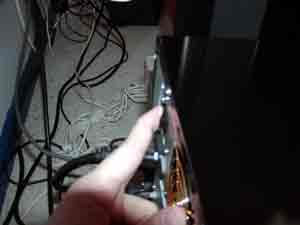
12. Now that your new memory has been installed, turn on your computer!
Once your memory has been physically installed, the computer must install it electronically. Once your PC is turned on, you may have to go into computer BIOS to enable your system to detect the new RAM you have just installed. Refer to your computer's user manual.
More Maintain and Upgrade Your PC Articles:
• Do We Really Need Windows Vista?
• Working With the Registry
• Vista's New Boot Loader Architecture
• Satellite Internet Service Basics
• Recognize And Understand Home Networking Components
• Tuning-up Windows XP Computer
• Using Your PC as a Home Theater
• Vista Product Activation
• Printers - A Practical Buyers Guide
• Installing A Power Supply

